Dummy Ammunition, firearm instructor supplies, and cartridge display bullets made from real cartridge components.


Hot-Glue Primer pocket modification procedure
This is a really easy and cheap way to fill the primer pocket of my inert cartridges with something that takes a bunch of firing pin hits and stops the over travel of the firing pin. I have a write up on the dryfire question on the DESCRIPTION tab of this website and although it is not harmful to dryfire most firearms, many of my customers have used this method to provide a certain “peace of mind” in regard to their firing pin. It’s so easy!
Step one:
Gather the materials you will need
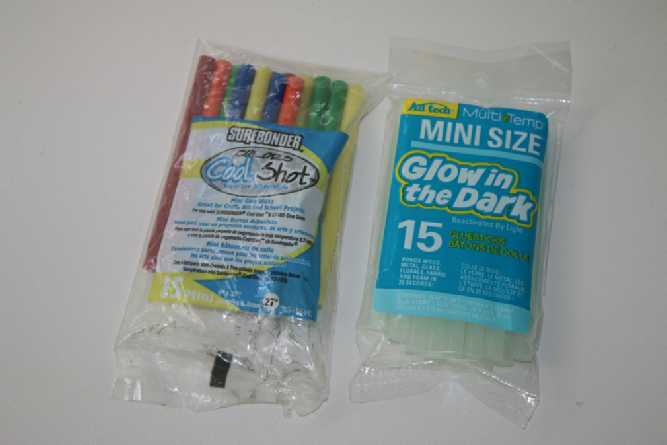
A hot glue gun: (The one pictured I picked up at Walmart for $2.47)
Glue sticks: (The glue sticks pictured were right next to the glue gun at Walmart and cost $1)
A razor blade: (make sure it is new and sharp)
The inert cartridges you plan on using: (thanks for your order!)
Step two:
Plug in the glue gun and wait for it to get hot. Test it out on something to make sure it’s hot enough for the glue to flow easily when you pull the trigger.
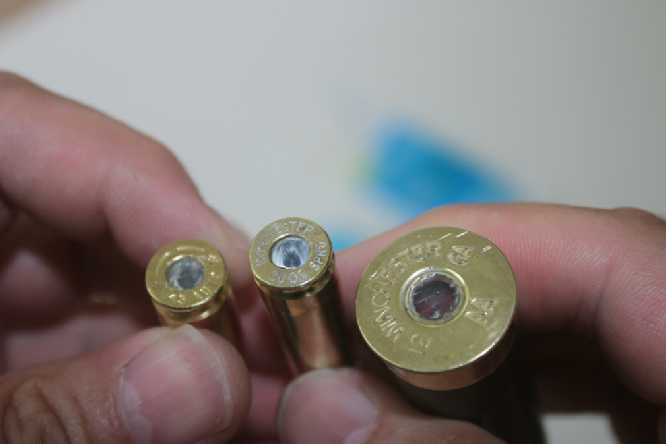
Step three:
Take the inert cartridge and squeeze enough hot glue into the drilled out primer pocket for a strong hold. If you put in too little glue it does not hold very well and can come loose. If you push the nozzle of the glue gun into the primer pocket hole and start to dispense the glue as you pull the glue gun away, you have probably put enough glue in. Give it a try. If you can’t easily pry the glue plug out with a pin or needle you’re good. Picture the size of a pencil eraser as the amount of glue you want to use. Be sure to fill the primer pocket above flush as seen. Don’t worry if you mess up. You can simply pry out the plug of glue when it dries and try it again. The most common problem is getting big air bubbles in the glue. With a few tries you will get the idea of how much glue to put in to get a strong hold and no air bubbles.
Step four:
You fill the primer pocket above flush so that the excess can be neatly trimmed off with a razor blade. Wait for the glue to cool thoroughly (doesn’t take long), then use a really sharp blade and a slight sawing action and the excess glue will trim off perfectly. The cartridge base will be the “guide” for the razor blade as you trim.
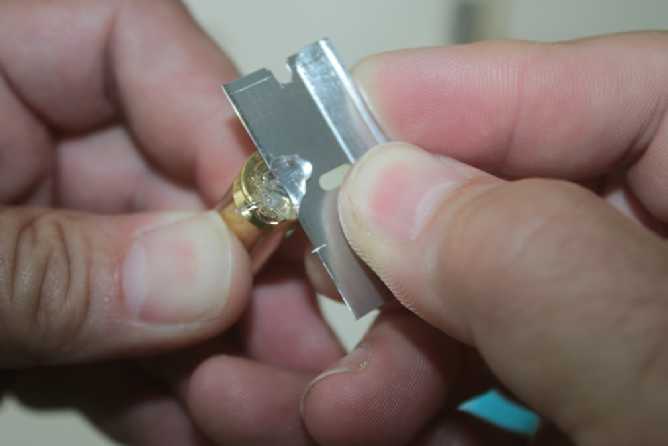


You can use this method for all of the cartridges I sell. Pistol, rifle and shotshell.

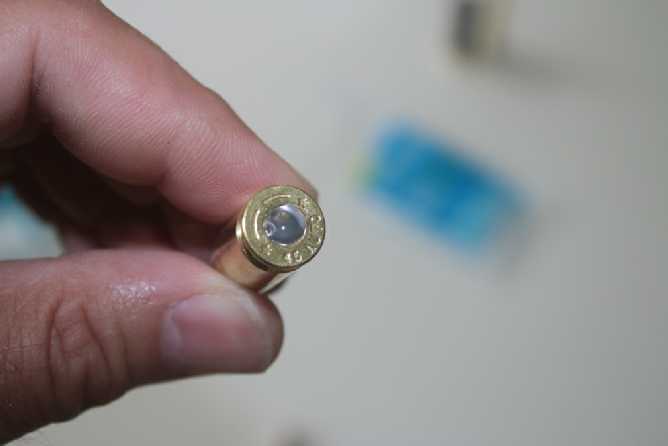
Step five:
With some practice you can get the glue to look like this after you trim it. No air bubbles and the glue is in the primer pocket nice and strong.
Step six:
Give it a try in your firearm. The 30-06 pictured above was run through my Garand about a dozen times and the glue filler looks like……
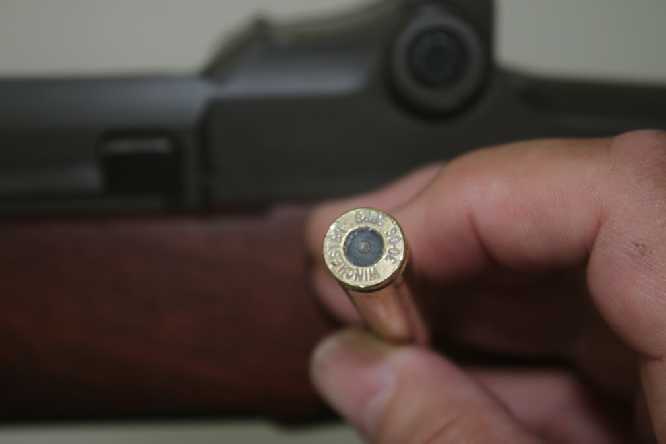
Just a small dimple in the glue. Pretty cool.
If you dryfire like crazy with your new hot-glue-primered cartridge and you start to get too deep of a dimple, no worries. Just pry out the plug and fill it again!
Look around the hot glue gun section in the craft or big box stores and you may find some colored or even glow in the dark glue sticks!
Of course be careful not to cut yourself with the razor blade or burn yourself with the hot glue!
| Pistol Calibers |
| Rifle Calibers |
| Cowboy/Gun Belt cartridges |
| Display / Instructor Items |
| Bullet Keychains |
| Costume |
| Movie Props |
| Bullets for jewelry making |
| 410 Gauge training |
| 28 Gauge training |
| 20 Gauge training |
| 16 Gauge training shells |
| 12 Gauge |
| 10 Gauge training |
| HOW TO ORDER |
| Description |
| Disclaimer |
| Contact Me |
| Shipping |
| Mail order Form |
| Privacy Policy |
| FAQ |
| testimonials |
| DIY dryfire cartridge |
| M1 Garand stock restoration |